1) Inspect the Concrete Floor Completely
Visually inspect the concrete floor to understand the existing construction and condition. This helps point out obvious defects/flaws that will aid in a sounding inspection.
A sounding inspection will ensure the concrete is free of spalls and delamination. Common practice utilizes a method called “chain dragging” which quite literally means dragging chains across a concrete floor. Another method includes hitting a hammer across spans of areas that are cracked or delaminated. The purpose of these (2) exercises is to understand the existing condition of the floor.
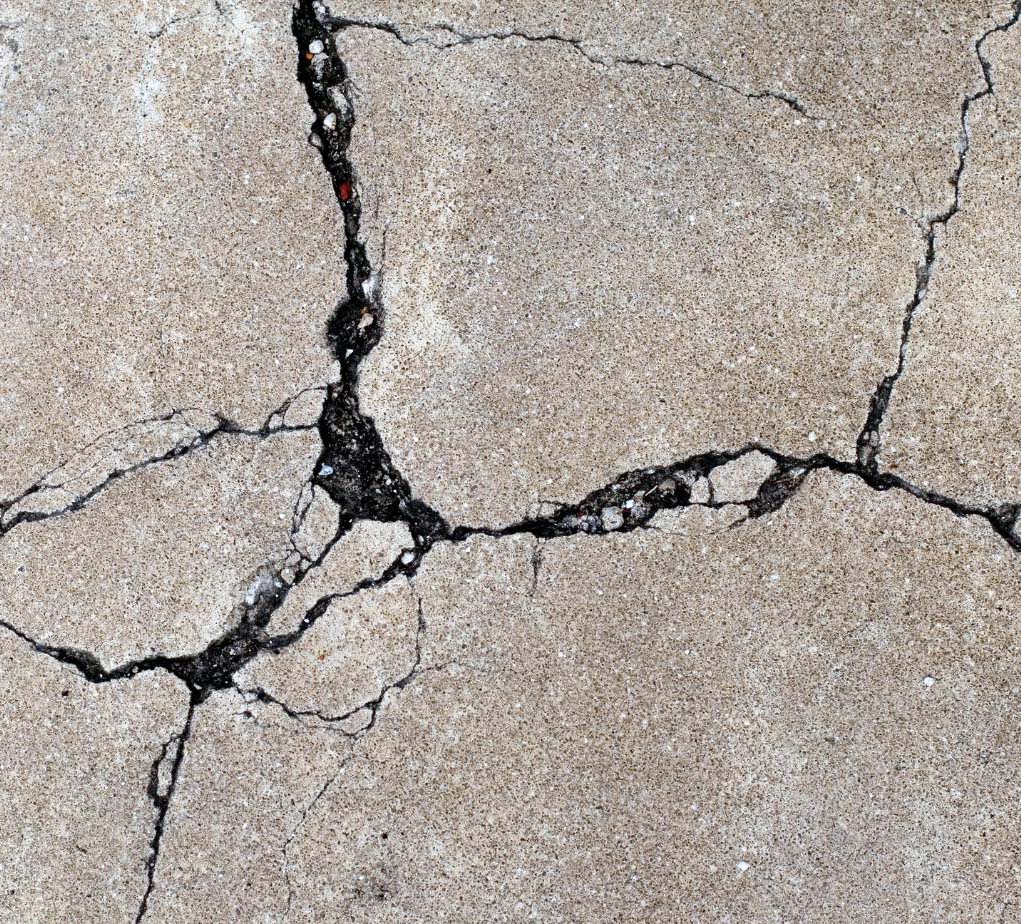
Chain dragging allows you to listen for differentiating tones which point out areas below the surface you cannot see that have spalled or delaminated. The consistent dragging motion creates a monotone sound that enables the mechanic to listen for changes in tone. Using a hammer requires the mechanic to listen for differentiating tones while consistently hitting the hammer in all directions around a crack or delaminated area. Chain dragging is best used for large surface areas as opposed to the hammer method which renders similar results only for more refined test areas.
Upon completion of step 1, repair options will be developed followed by estimated costs to complete repairs.
2) Follow Repair Options
Based on the repair options provided, the removal/replacement or general repairs of concrete flooring should be completed during this step. These repair options will vary greatly depending on the type of concrete floor, e.g., slab-on-grade, structural deck, roof deck, etc.
3) Remove Everything & Anything
Any existing coating, flooring, residue, etc. must be removed entirely. No exceptions.
There are (5) methods of removal:
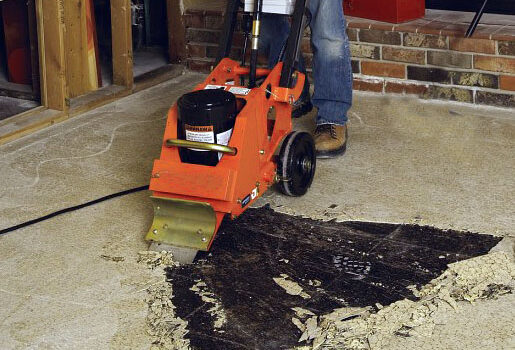 Scraping:
For most coating removal jobs our first line of offense is the use of Power Scrapers. These machines efficiently remove VCT, carpet, wood, mastics, epoxy & urethane waterproof membranes, rubber and EPDM roofing materials.
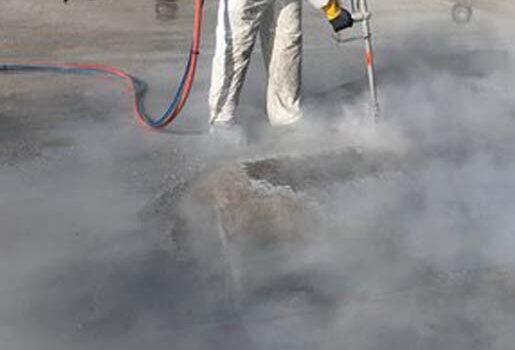 Hydroblasting:
When conditions permit, hydroblasting is capable of cleaning with pressures of up to 40,000 psi to remove coatings around columns, elevated ramp curbs, structural steel, facades, etc.
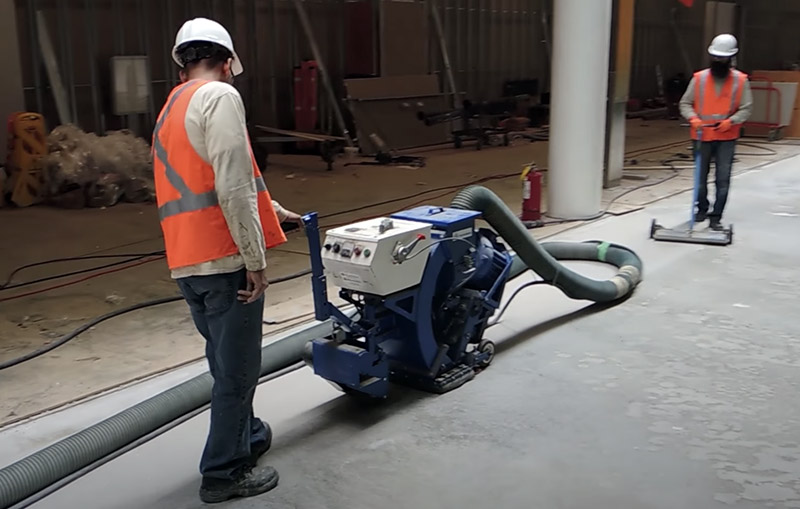 Shotblasting:
After the majority of coating or floor coverings have been removed by power scraping or hydroblasting, we utilize shot blasting machines to clean any remaining residual coatings and profile the concrete for maximum adhesion of epoxy or urethane coatings & waterproofing membranes.
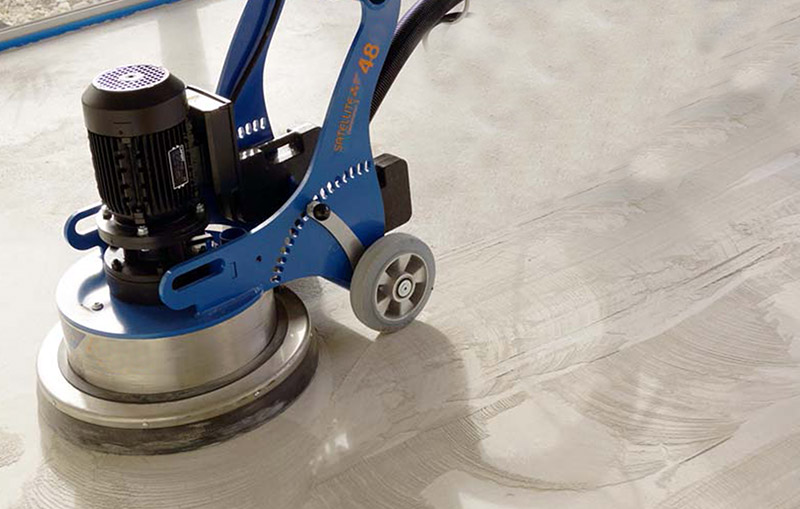 Grinding:
Diamond grinding machines are used to remove any remaining coatings, uneven or rough areas leaving a smooth and uniform concrete surface.
 Milling:
Concrete milling machines are used for heavy coating removal, asphalt, urethane or troweled epoxy coatings. The machines give you the ability to mill uneven, spalling or deteriorated concrete up to 2 ½ inches deep to prep for concrete re-capping or self-leveling underlayment.
4) Fill Cracks and Repair Other Damage
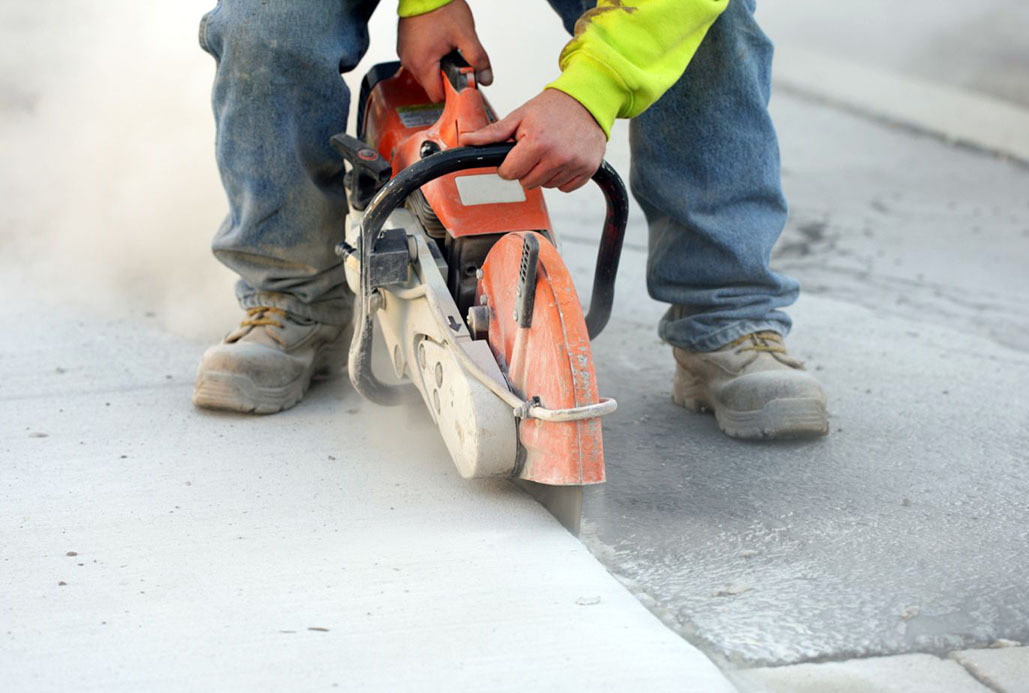
Typically after mechanical removal of product, the true existing condition of concrete is exposed.
– Cracks will be most apparent and will require routing and sealing with an elastomeric polyurethane.
– Additional compromised areas of concrete may also be exposed, these areas will require further inspection and analysis. If the existing repair options cannot accommodate the type of condition exposed, additional repair options are required.
5) Ensure a Smooth and Clean Surface
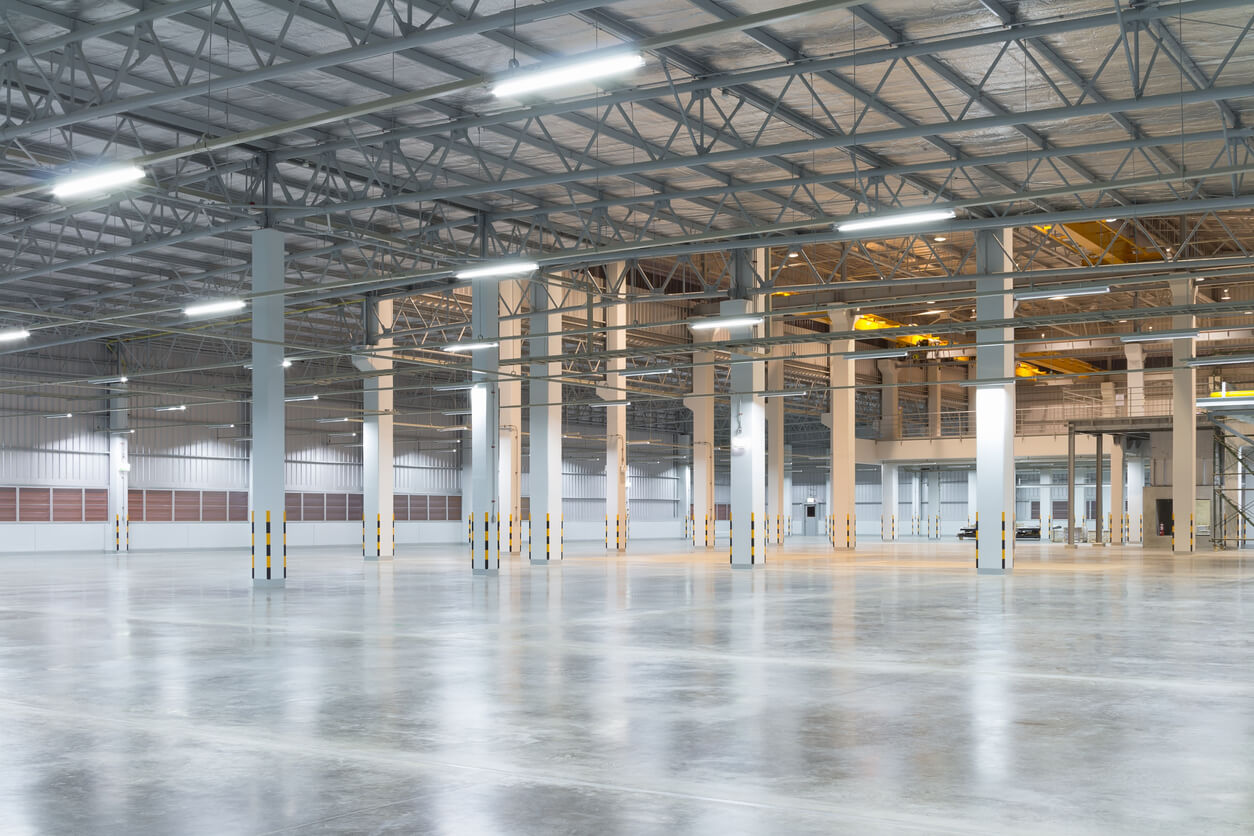
The final step requires removal of miscellaneous air borne and reminiscent debris by use of vacuums and blowers. If any debris of any kind are left over, the new product will not adhere properly, this also pertains to moisture on the surface. Every step of this preparation process is necessary to get the best possible outcome.
Reach out and consult with T.G. Basile on your next concrete flooring project by contacting us here.


